How to Install a Solar-Powered Security Camera in Less Than 30 Minutes
There were times when installing a security camera meant a lot of hassle. You have to hire professionals to drill holes and run wiring. Solar-powered security cameras have changed that completely. Now you can secure your home in just 30 minutes without hiring anyone, by yourself.
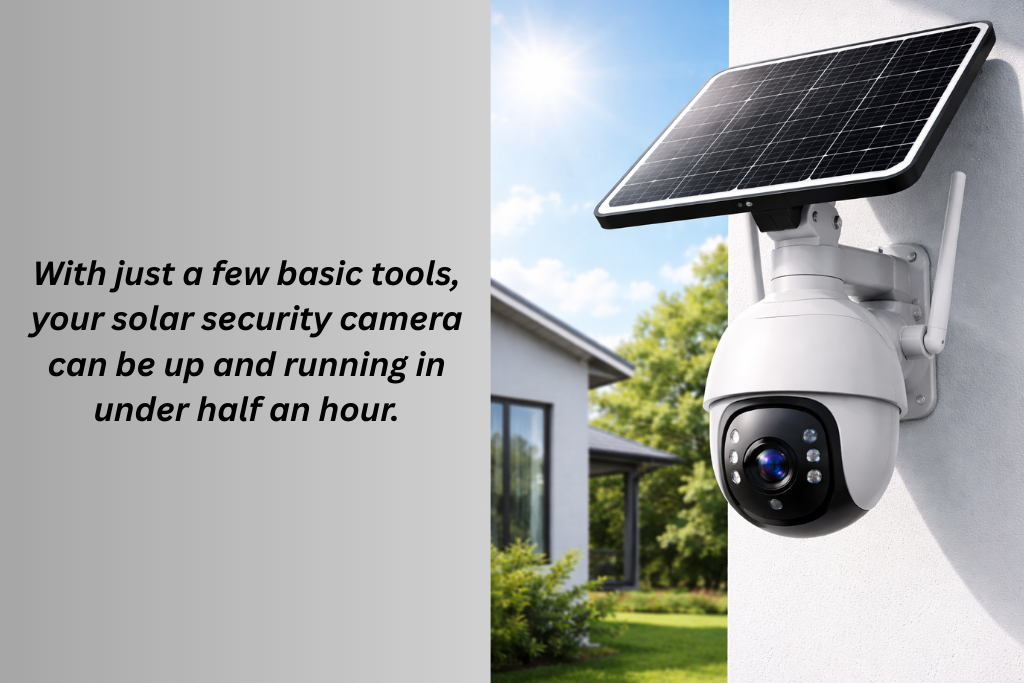
In this step-by-step guide, we will show you how to install a solar-powered security camera in less than 30 minutes.
Why Solar-Powered Cameras Are Quick to Install?
Solar cameras are designed to offer speed and simplicity. Most of the “installation time” is really just choosing the right spot. They
- Use rechargeable batteries
- Don’t require power cables
- Mount with screws or a strong adhesive
- Connect wirelessly
What You’ll Need to Start?
Charge the camera fully before installing. This saves time during setup and ensures it works immediately. Before installation, gather these basics:
- Solar-powered security camera
- Mounting bracket
- Screws and wall plugs
- Screwdriver or drill
- Smartphone
- Ladder or step stool
Step 1: Choose the Right Location in 5–7 Minutes
Location matters more than anything else. The best placement tips are
- Mount your camera 7–10 feet above ground for optimal view
- Aim at entry points like doors, driveways, or yards
- Avoid pointing directly at the sun
- Choose a spot with at least 3–4 hours of direct sunlight daily
Avoid these mistakes
- Mounting under heavy shade
- Pointing toward reflective surfaces
- Placing too close to busy roads (causes false alerts)
Once you’ve chosen the spot, hold the camera there and check the viewing angle.
Step 2: Attach the Mounting Bracket in 5–8 Minutes
Most solar cameras come with a simple mounting bracket. There are two common installation methods.
The most secure one is the mounting screws. For that, you have to
- Mark screw holes using the bracket
- Drill pilot holes (if mounting on brick or concrete)
- Insert wall plugs
- Screw the bracket into place
The second and rental-friendly method is with an adhesive mount.
- Use heavy-duty outdoor adhesive pads
- Press firmly for at least 30 seconds
- Allow recommended curing time
Once the bracket is secure, snap or screw the camera onto it.
Step 3: Position the Solar Panel in 5 Minutes
A good solar angle prevents battery issues later. Some cameras have built-in solar panels, while others include separate panels. If you got one with built-in panels, then
- Angle the camera so the panel facesthe sunlight
- Avoid overhangs or roof shadows
For external solar panels
- Mount the panel higher than the camera
- Angle it toward the sun (usually south-facing)
- Ensure the cable isn’t tightly stretched
Step 4: Power On and Connect the Camera in 7–10 Minutes
Turn on the camera using the power button or switch. If your camera uses Wi-Fi
- Download the companion app
- Create or log in to your account
- Scan the QR code on the camera
- Connect to your Wi-Fi network
- Name the camera and assign a location
If your camera does NOT use Wi-Fi
- Insert the SIM card (for cellular models)
- Or insert a microSD card (for local storage models)
- The camera will begin recording automatically once motion is detected
Step 5: Adjust Settings and Test in 5 Minutes
This step ensures the camera works exactly how you want. You should adjust the settings
- Adjust motion sensitivity (medium is best)
- Set detection zones to reduce false alerts
- Choose clip length (short clips save battery)
- Enable night vision or spotlight if needed
Go for a quick test
- Walk in front of the camera
- Check if the recording starts
- Confirm the alert or indicator works
- Review recorded footage
Make minor angle adjustments if needed.
How to Finish in Under 30 Minutes (Time Breakdown)
| Choosing Location | 7 mins |
| Mounting brackets | 8 mins |
| Solar panel adjustment | 5 mins |
| App or system setup | 8 mins |
| Testing and fine-tuning | 5 mins |
Total: 25–30 minutes
Common Installation Mistakes to Avoid
- Mounting too low makes them easy to tamper with.
- Ignoring the direction of the sunlight
- Setting motion sensitivity too high
- Forgetting to test before final tightening
- Installing in heavy shade and expecting solar charging to work
Avoiding these saves hours of troubleshooting later.
Conclusion
In most cases, installing a solar-powered security camera does not require professional installation. However, you might need professional help if you are mounting it on a very high or unsafe surface. Also, when you are installing multiple cameras across a large property. You will also need professional help for advanced network configuration. But for standard home or rental use, DIY installation is more than enough.


You May Also Like
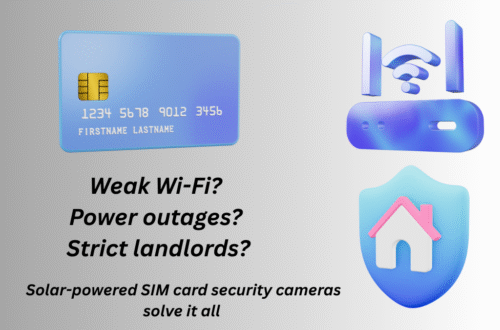
Solar-Powered Security Cameras with SIM Card: The Smart Security Choice for Renters

How Long Do Solar Camera Batteries Last? What You Need to Know